DICOM Devices
Before an imaging device or other DICOM modality can send DICOM studies to HeartLab, a DICOM device must be configured. DICOM devices allow HeartLab to:
- Identify incoming DICOM traffic
- Provide a secure communication channel
- Automatically associate studies with the device's location
Create a DICOM Device
To create a DICOM Device:
- Navigate to Settings → Devices → DICOM.
- Select Create DICOM Device.
- Enter the required information
- Name. A descriptive name used throughout HeartLab. For example, the clinic and room location or the device manufacturer and model.
- AE Title. The DICOM AE Title used by the imaging device. If the device already has an AE Title configured, enter the same value.
- Select Save.
Connect a DICOM Device
After creating a DICOM device, retrieve the connection details required to configure it.
- Open the required DICOM device.
- Select Connect Device.
- Select the required connection method: DICOM TLS, VPN or HeartLab Agent.
HeartLab displays the connection details required to configure the DICOM device.
Connect Using DICOM TLS
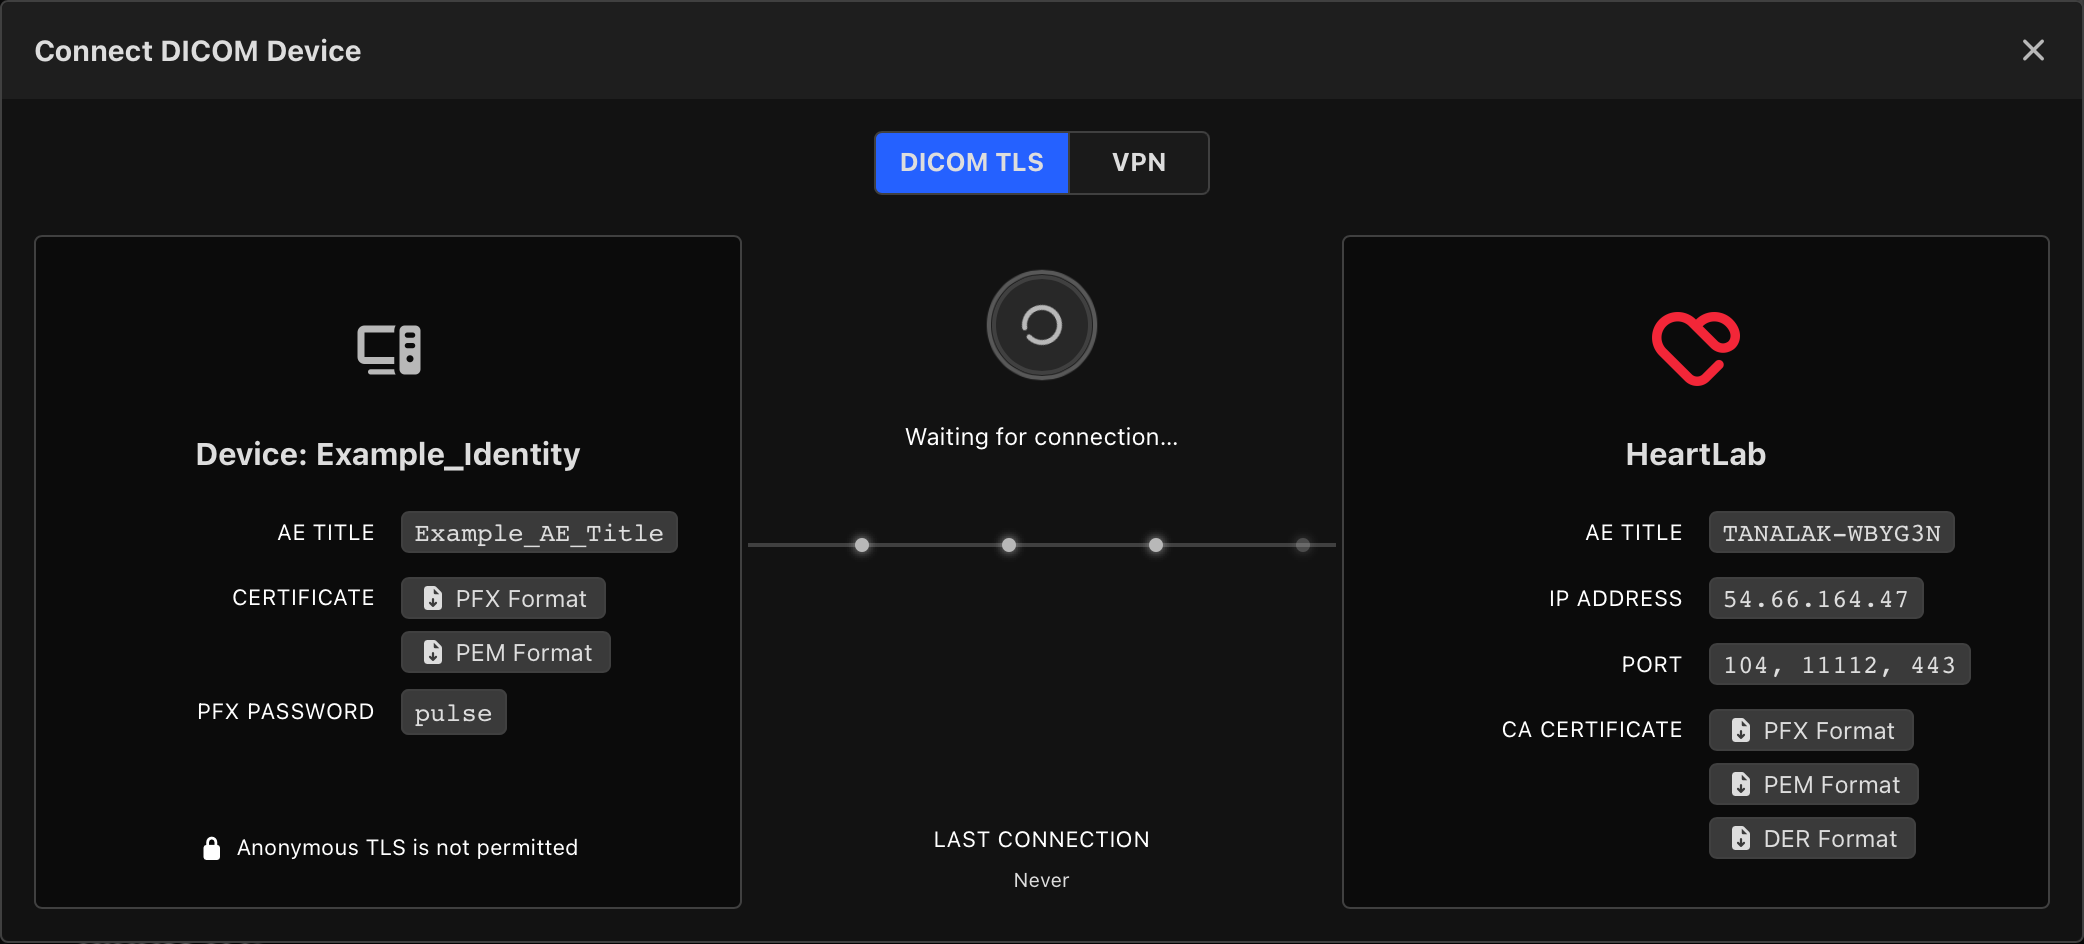
When DICOM TLS is selected, the Connect Device window displays the connection details for both the imaging device and the HeartLab server.
Imaging Device
The left-hand side displays:
- Device AE Title
- Modality certificate (PFX and PEM formats)
- Certificate password
HeartLab Server
The right-hand side displays:
- Server AE Title
- IP address
- Port
- Server certificate authority
Configure the imaging device to send studies to the server IP address and port, then install the required modality and server certificates.
Connect Using a VPN
If your organisation communicates with HeartLab using a VPN:
- Select VPN as the connection method.
- Select the required VPN from the drop-down list.
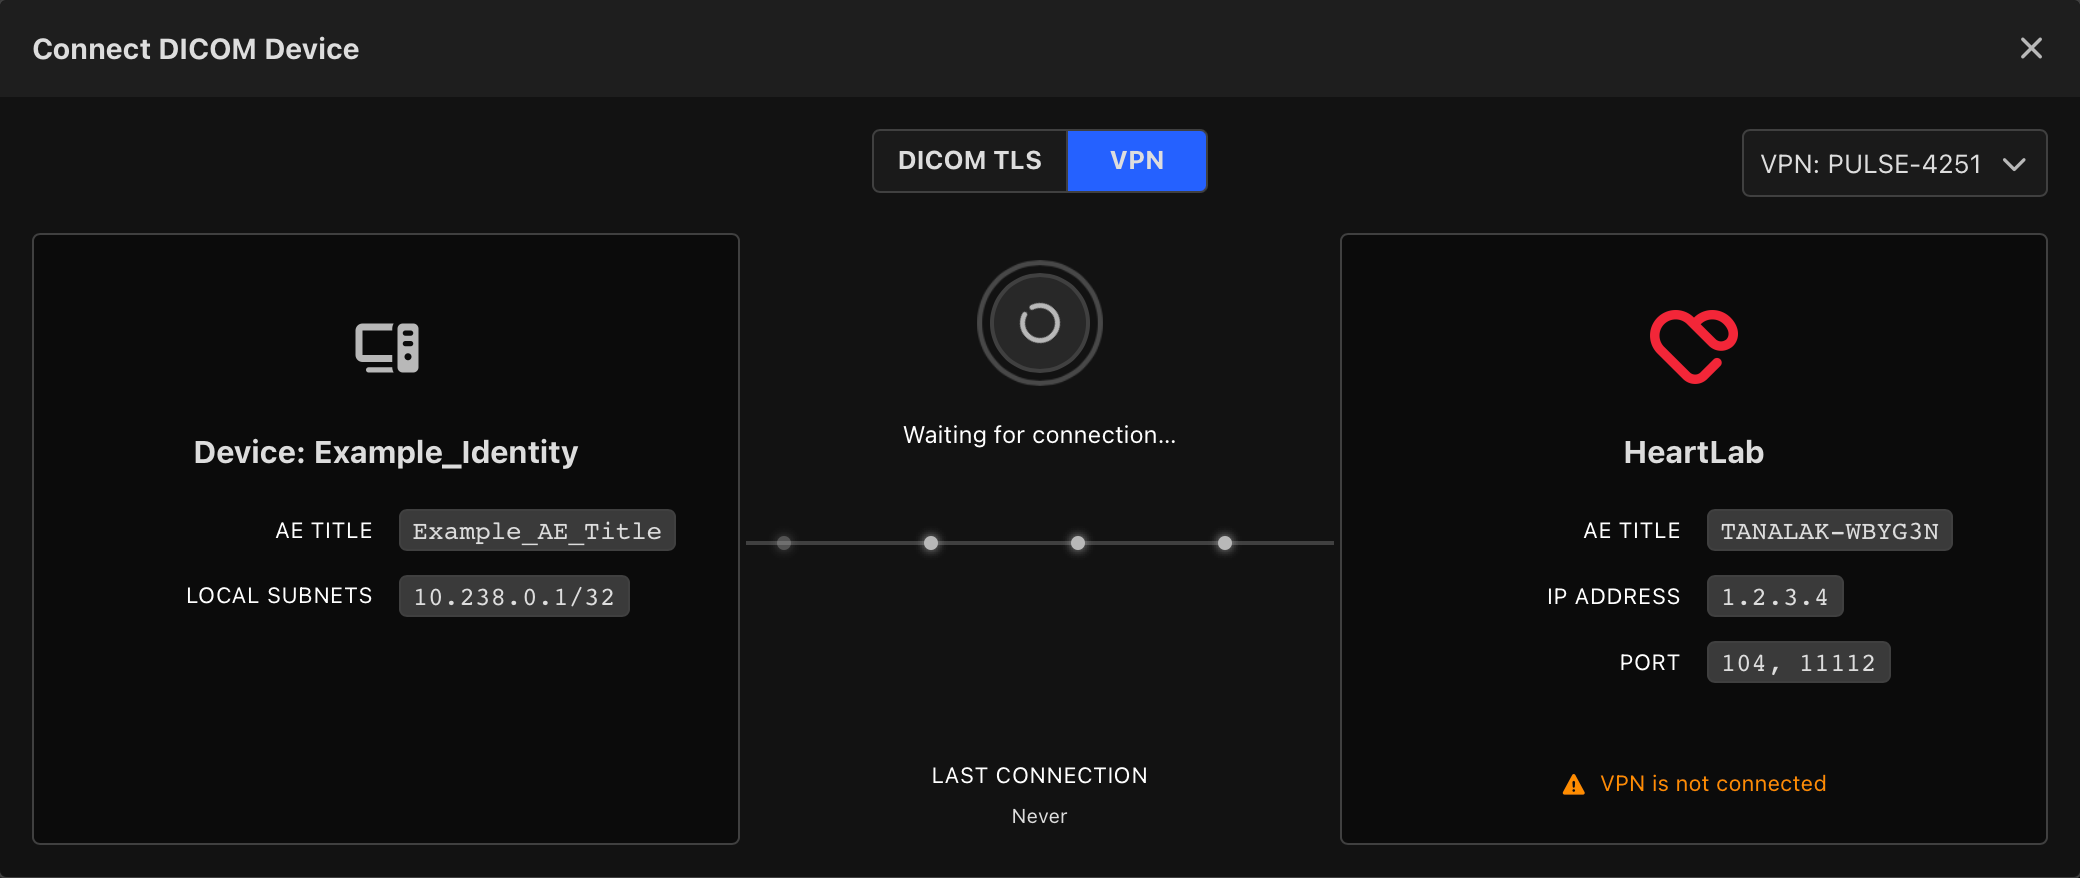
The connection details for the selected VPN are displayed, including:
- Server AE Title
- IP address
- Port
Configure the imaging device to send studies to the server IP address and port.
Connect Using a HeartLab Agent
If the imaging device does not support DICOM TLS and no VPN is available, a HeartLab Agent on your local network can forward its DICOM traffic to HeartLab. See HeartLab Agent: DICOM Forwarding.
- Select HeartLab Agent as the connection method.
- Select the required agent from the drop-down list.
The connection details for the selected agent are displayed, including:
- Server AE Title
- IP address of the computer running the agent
- Port
Configure the imaging device to send studies to the agent's IP address and port, using the server AE Title as the called AE Title.
Verify the Connection
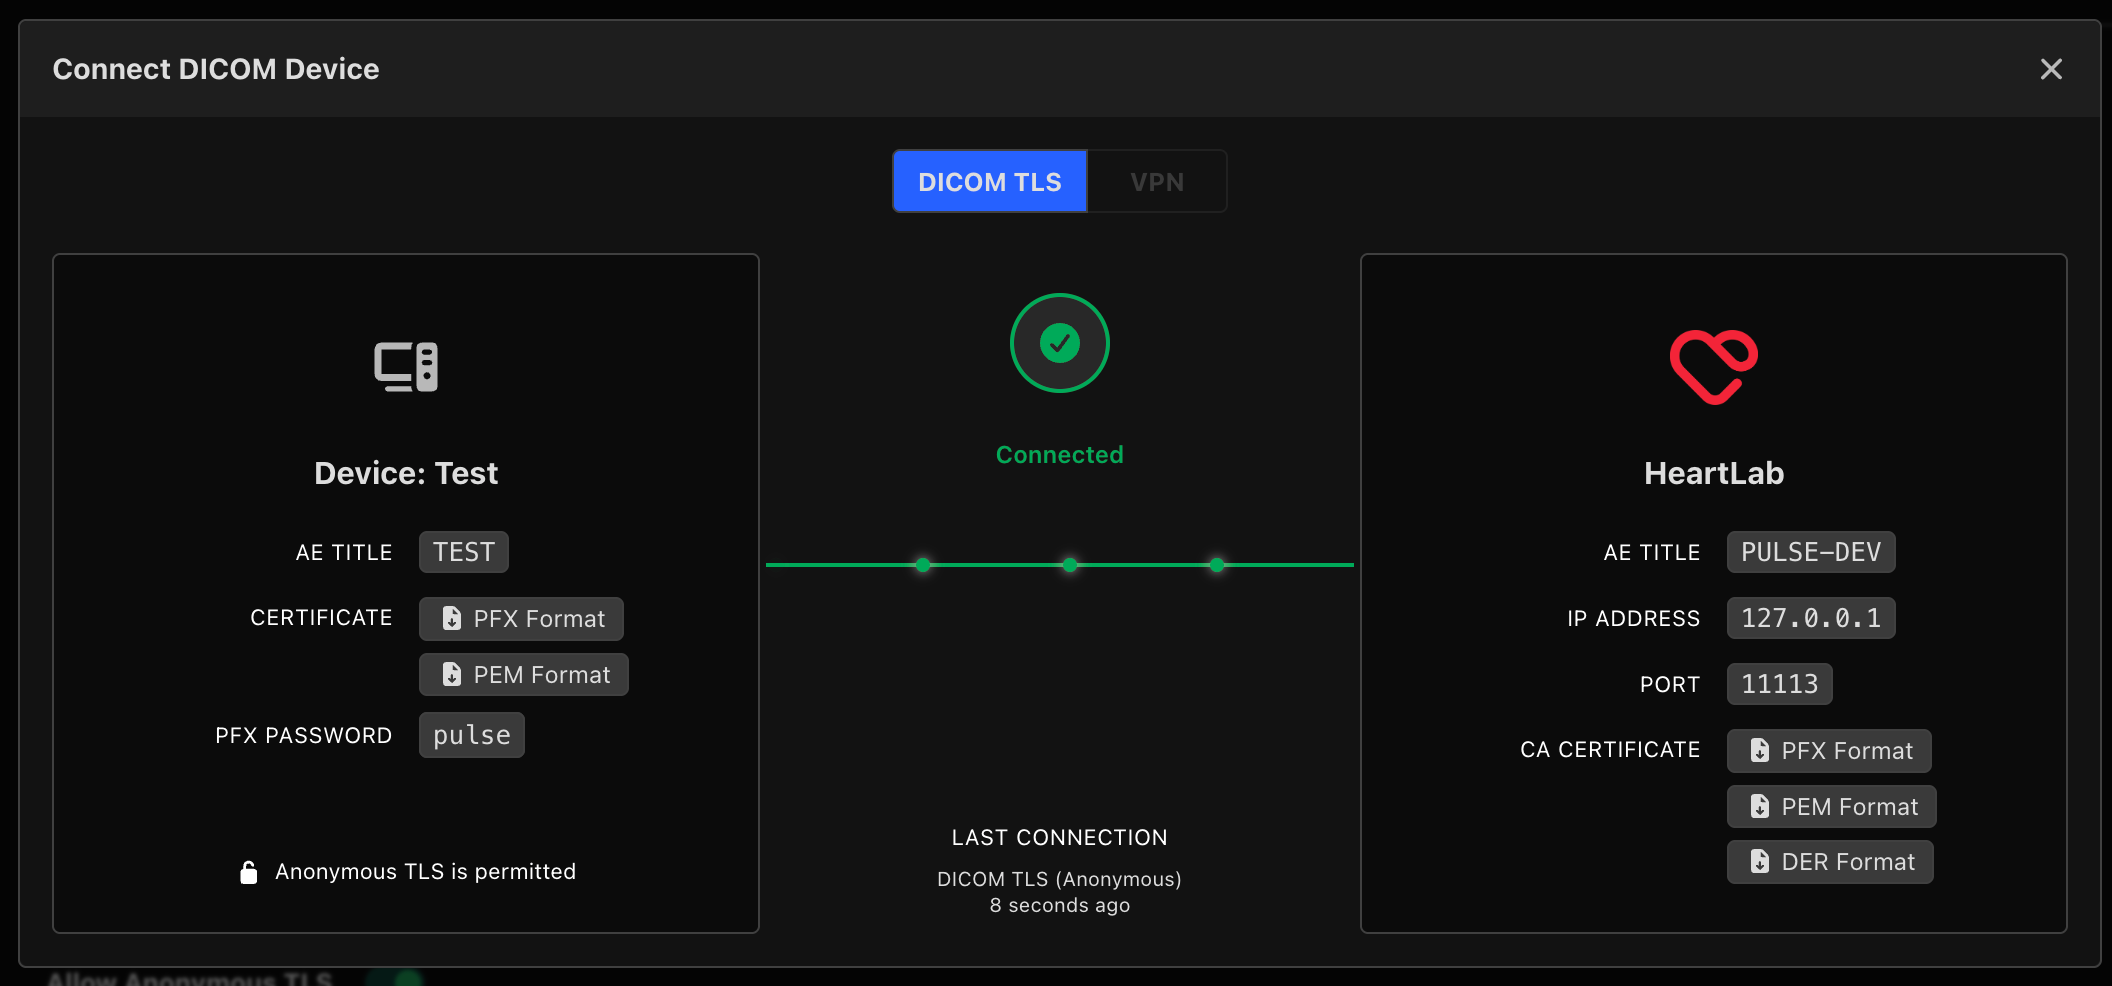
The Connect Device window displays the current connection status of the DICOM device for the selected connection method.
Before the imaging device has successfully connected, HeartLab displays a Waiting for Connection message.
Once a connection has been established, the window displays the date and time of the most recent successful connection, along with the connection method that was used.
This information can be used to confirm that the imaging device is communicating successfully with HeartLab.
Manage a DICOM Device
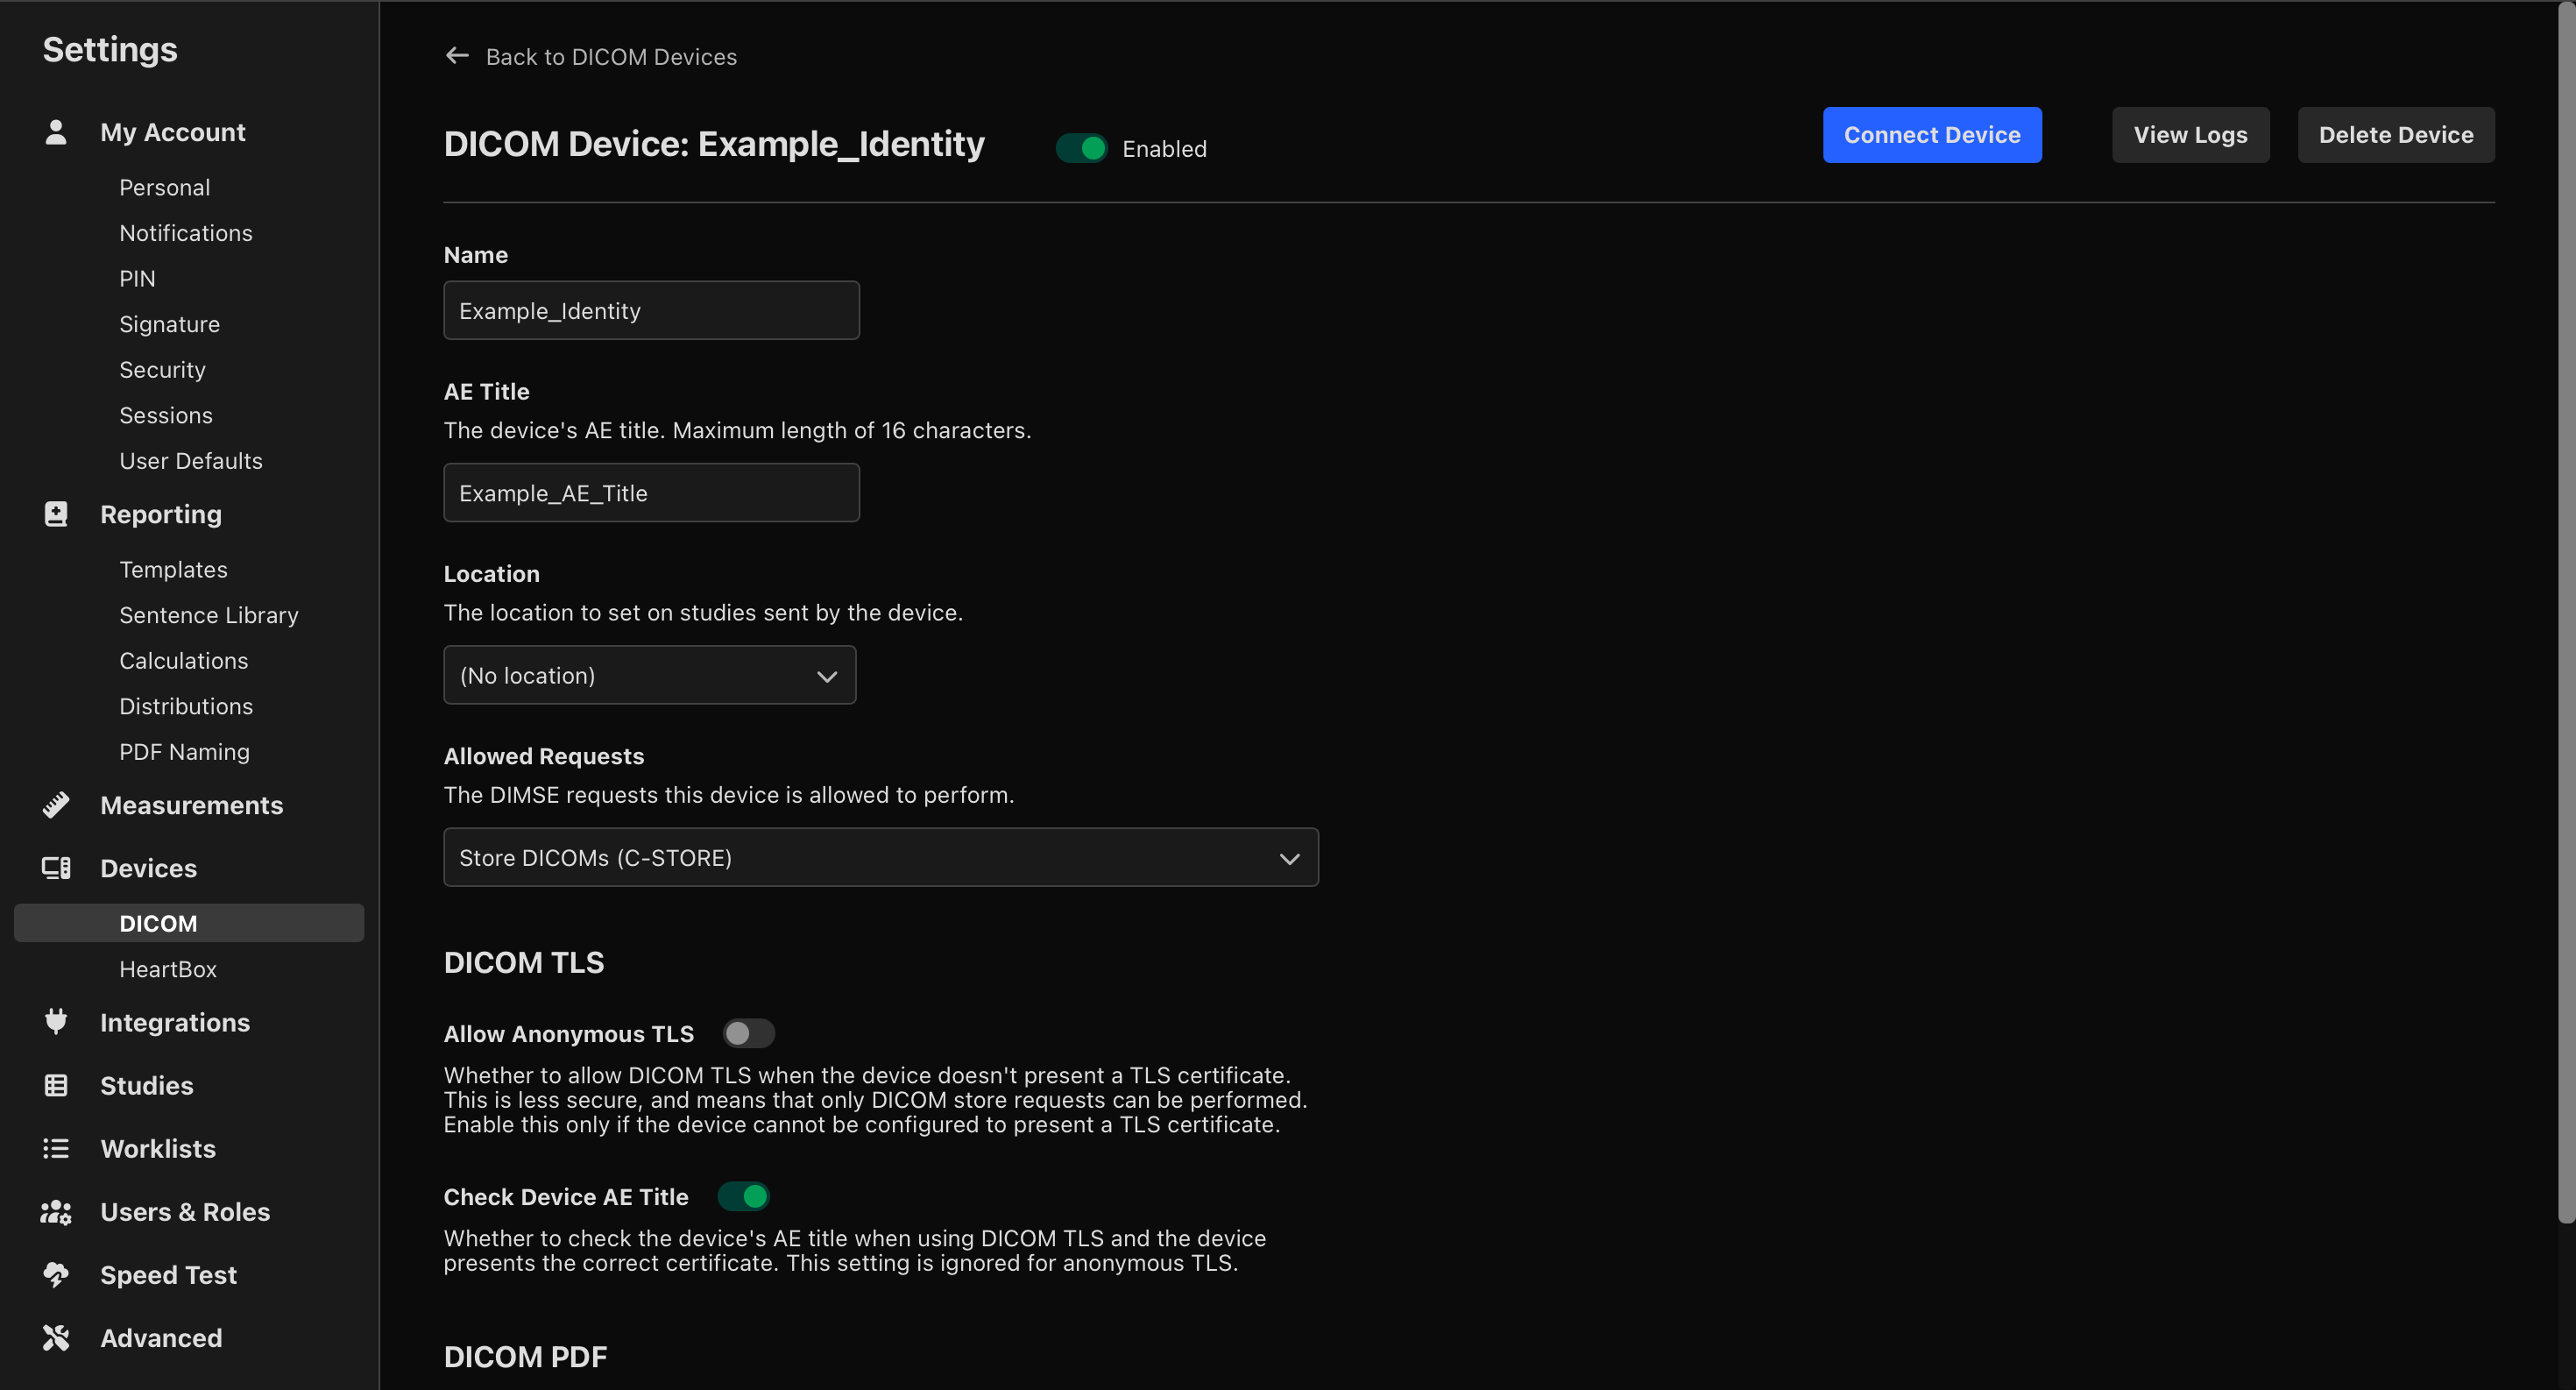
The DICOM device configuration page also allows administrators to:
- Enable or disable the device
- Delete the device
- Configure Allowed Requests
- Configure DICOM TLS
- Review device configuration
Allowed Requests
Allowed Requests determine which DICOM network operations the DICOM device is permitted to perform. Only allow requests that are required by the DICOM device.
When Anonymous TLS is used by a device to connect to HeartLab, it is only able to store DICOMs and is not permitted to perform any other requests.
Troubleshooting
If a DICOM device cannot connect to HeartLab, verify:
- The AE Title matches exactly on both systems.
- The destination IP address and port are correct.
- The correct connection method has been selected.
- The required certificates have been installed when using DICOM TLS.
- The selected VPN is connected when using a VPN connection.
- The DICOM device is enabled.
 MFR
MFR