Administration
Manage Users
Invite, update, and remove users, and manage role assignments safely in HeartLab.
Manage Users
Administrators can add, manage, and remove users from their organisation’s HeartLab account. User roles determine what actions and permissions a user has within the platform, including access to reporting, studies, and administrative settings.
For more information, see Roles and Permissions.
If your organisation uses Single Sign-On (SSO) providers such as Microsoft Entra ID or Google Workspace, user access may also need to be managed through the identity provider.
Access User Management
To manage users:
- Navigate to Settings → Users & Roles → Users.
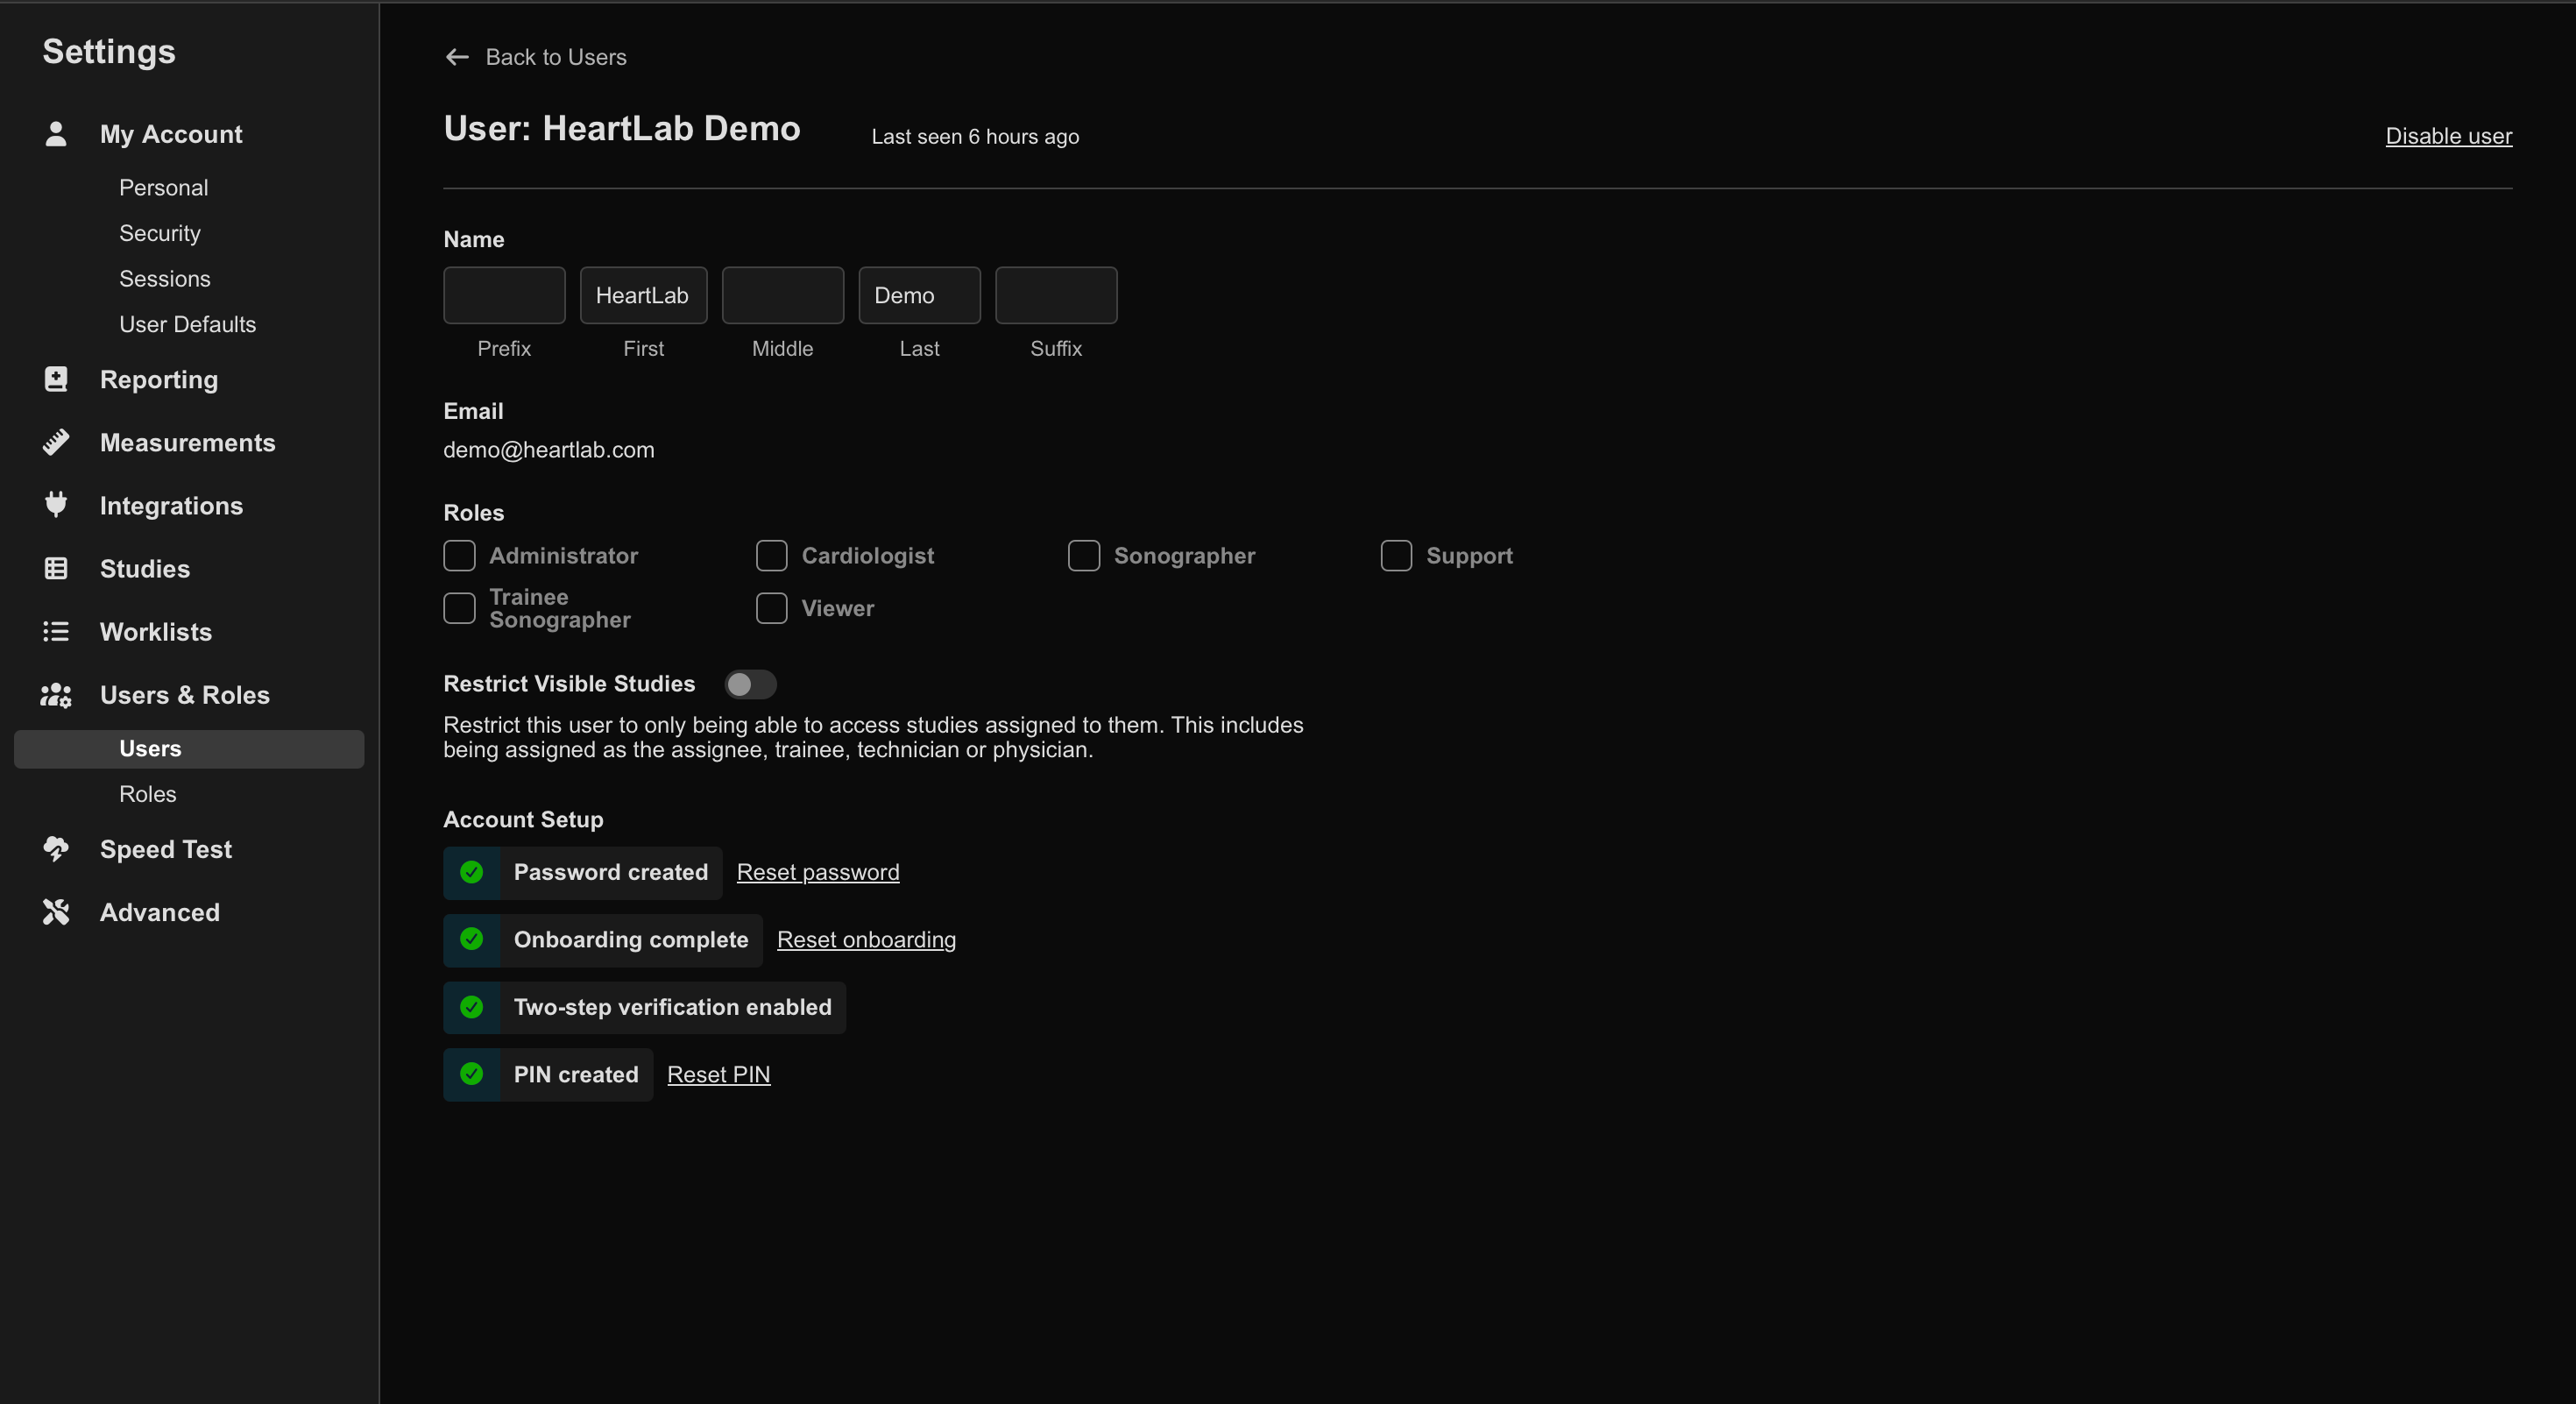
The Users page displays:
- User names and email addresses
- Assigned roles
- SSO status
- MFA status
- Last login date
A search bar is also available to locate specific users.
If you cannot access these settings, your role may not include Users permissions. Contact your HeartLab administrator to request access.
Invite a User
To add a new user:
- Navigate to Settings → Users & Roles → Users.
- Select Invite User.
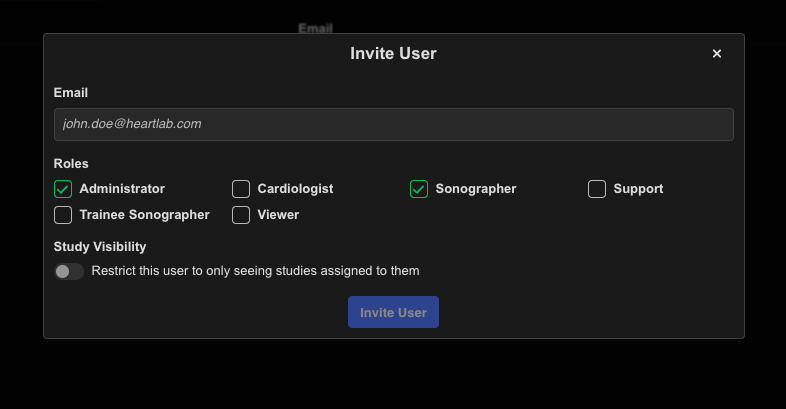
- Enter the user’s email address.
- Assign the required role(s).
- Optionally configure study restrictions.
- Select Invite User to send the invitation.
The invited user receives an email containing a link to join the organisation.
Manage User Roles
To update a user’s roles or permissions:
- Navigate to Settings → Users & Roles → Users.
- Select the target user.
- Enable or disable the required roles.
Disable a User
To disable a user account:
- Navigate to Settings → Users & Roles → Users.
- Select the target user.
- Select Disable User in the top-right corner.
Disabled users no longer appear in the default user list.
To view disabled users:
- Enable Show disabled users from the Users page.
If your organisation uses SSO authentication, ensure users are also disabled within the identity provider as part of your offboarding and security procedures.