Measurements
Linear
Capture and save linear distance measurements accurately on study images.
Linear Measurements
HeartLab allows users to perform point-to-point distance measurements directly within the study viewer.
This guide explains how to create, adjust, and save linear measurements.
Steps
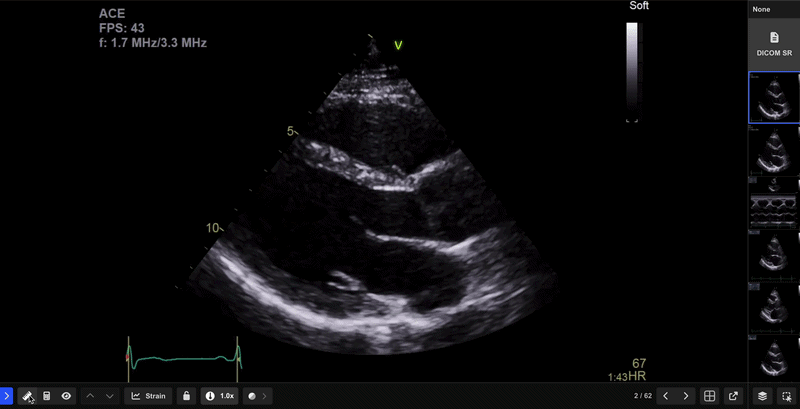
Step 1: Select the Distance Tool
- Select Distance from the Measurement Toolbar.
You can also access the linear measurement tool by right-clicking the image and dragging the tool onto the desired location.
Step 2: Place the Measurement Points
- Select the origin point on the image.
- Select the endpoint to complete the measurement.
HeartLab displays a live preview of the measurement while placing the points.
Step 3: Review the Measurement
Once the measurement has been placed, you can:
- Adjust either endpoint
- Retake the measurement using Redo
- Save the measurement
Step 4: Save the Measurement
- Select Select Measurement or press Enter.
- In the pop-up window:
- Search, scroll, or create a measurement label
- Select the appropriate measurement type
- Optionally include related measurements
- Click Save or press Enter.
After Saving
The saved measurement appears as a green highlight on the playback bar.
Hover over the highlight to view the measurement label and value.