Connectivity
HeartLab Agent: Stress Test Uploads
Automatically upload cardiac stress test data into HeartLab using the HeartLab Agent.
Stress Test Uploads
The HeartLab Agent can automatically upload cardiac stress test data into HeartLab from a local directory.
Supported vendors include:
- Cardiosoft
- Norav
Supported File Types
Stress test uploads require:
- XML file
- PDF file
XML and PDF files must have identical filenames (excluding the file extension).
Example:
test1.xml
test1.pdf
Configure Stress Test Uploads
- Open the HeartLab Agent application.
- Navigate to Stress Test Uploads
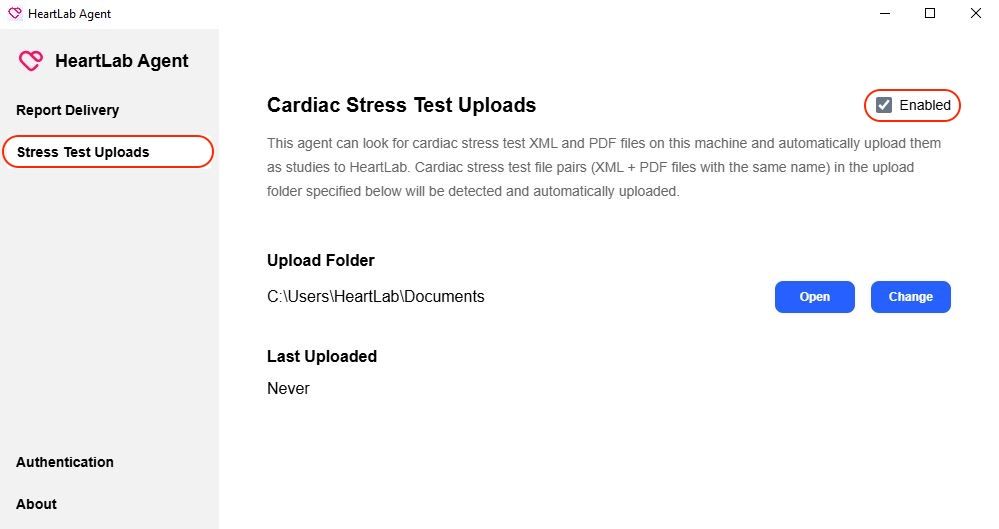
- Enable Stress Test Uploads
- Configure the Upload Folder
- Save the configuration.
- Place matching XML and PDF file pairs into the Upload Folder.
Example:
Documents\
  test1.xml
  test1.pdf
The HeartLab Agent will periodically scan the folder and automatically upload matching file pairs.
Successful Uploads
Successfully processed files are moved to:
Documents\
  processed\
    <timestamp>\
HeartLab automatically creates a study using the uploaded data.
Failed Uploads
Failed uploads are moved to:
Documents\
  failed\
    <timestamp>\
An error.log file is included to assist troubleshooting.
Failed uploads are also visible within HeartLab.
Users can select Retry All Failed from the upload dialog to retry failed uploads.
Troubleshooting
Common causes of failed uploads include:
- Missing XML file
- Missing PDF file
- XML and PDF filenames do not match
- Invalid file contents
- Network connectivity issues
If uploads fail:
- Confirm both files exist
- Confirm filenames match exactly
- Verify the Agent is connected to HeartLab
- Review the generated
error.log - Retry failed uploads from HeartLab
Notes
- Upload processing occurs automatically at regular intervals
- Uploaded files are moved after processing
- Error details are recorded for failed uploads
- A corresponding study is created when upload succeeds